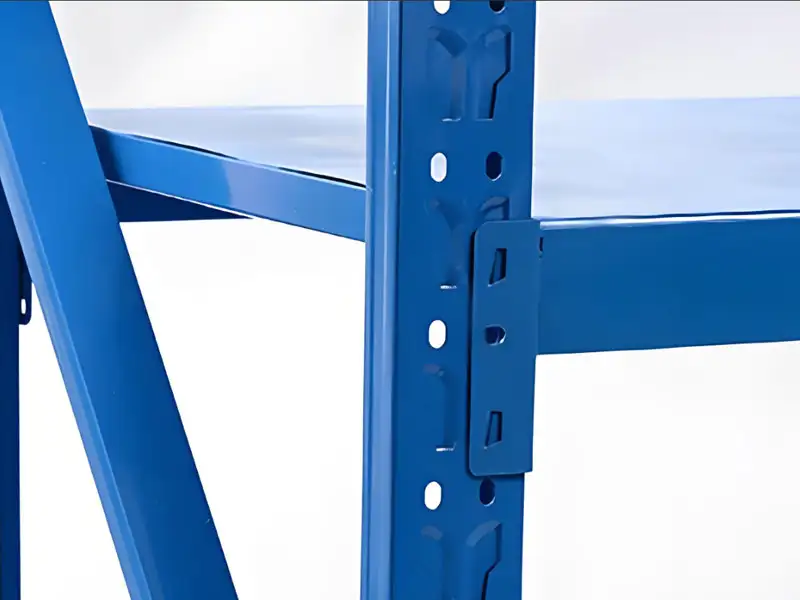
How to install butterfly hole shelves
The installation steps for butterfly hole shelves mainly include assembling the columns and crossbeams, placing the shelves, and checking stability. For specific operations, please refer to the product manual or professional tutorial.
Installation Steps Overview
Check accessories: After unpacking, confirm that all accessories such as columns, crossbeams, and shelves are complete and undamaged. If there are any issues, contact the manufacturer for replacement.
Assemble columns and crossbeams: Place the two columns according to the crossbeam spacing, and first install the bottom crossbeam, inserting both ends into the butterfly holes of the columns. Install the remaining crossbeams in sequence, ensuring that each layer is installed symmetrically to maintain balance.
Place the shelves: After installing the crossbeams, place the shelves steadily on the crossbeams, ensuring the load-bearing side of the shelves faces downward.
Check stability: Gently tap all connection points with a rubber mallet to test the overall stability of the shelf, preventing any loosening.
Notes
It is recommended that two people work together during installation to prevent the columns from tipping over. The height of the second layer can be adjusted as needed, but ensure that the crossbeam clips are fully inserted into the butterfly holes.
If multiple shelving units are arranged side by side (main and auxiliary frame structure), the number of columns in the auxiliary frame can be reduced, but it must be securely connected to the main frame.
TAG:
Related Posts
How to install butterfly hole shelves


